Introduction
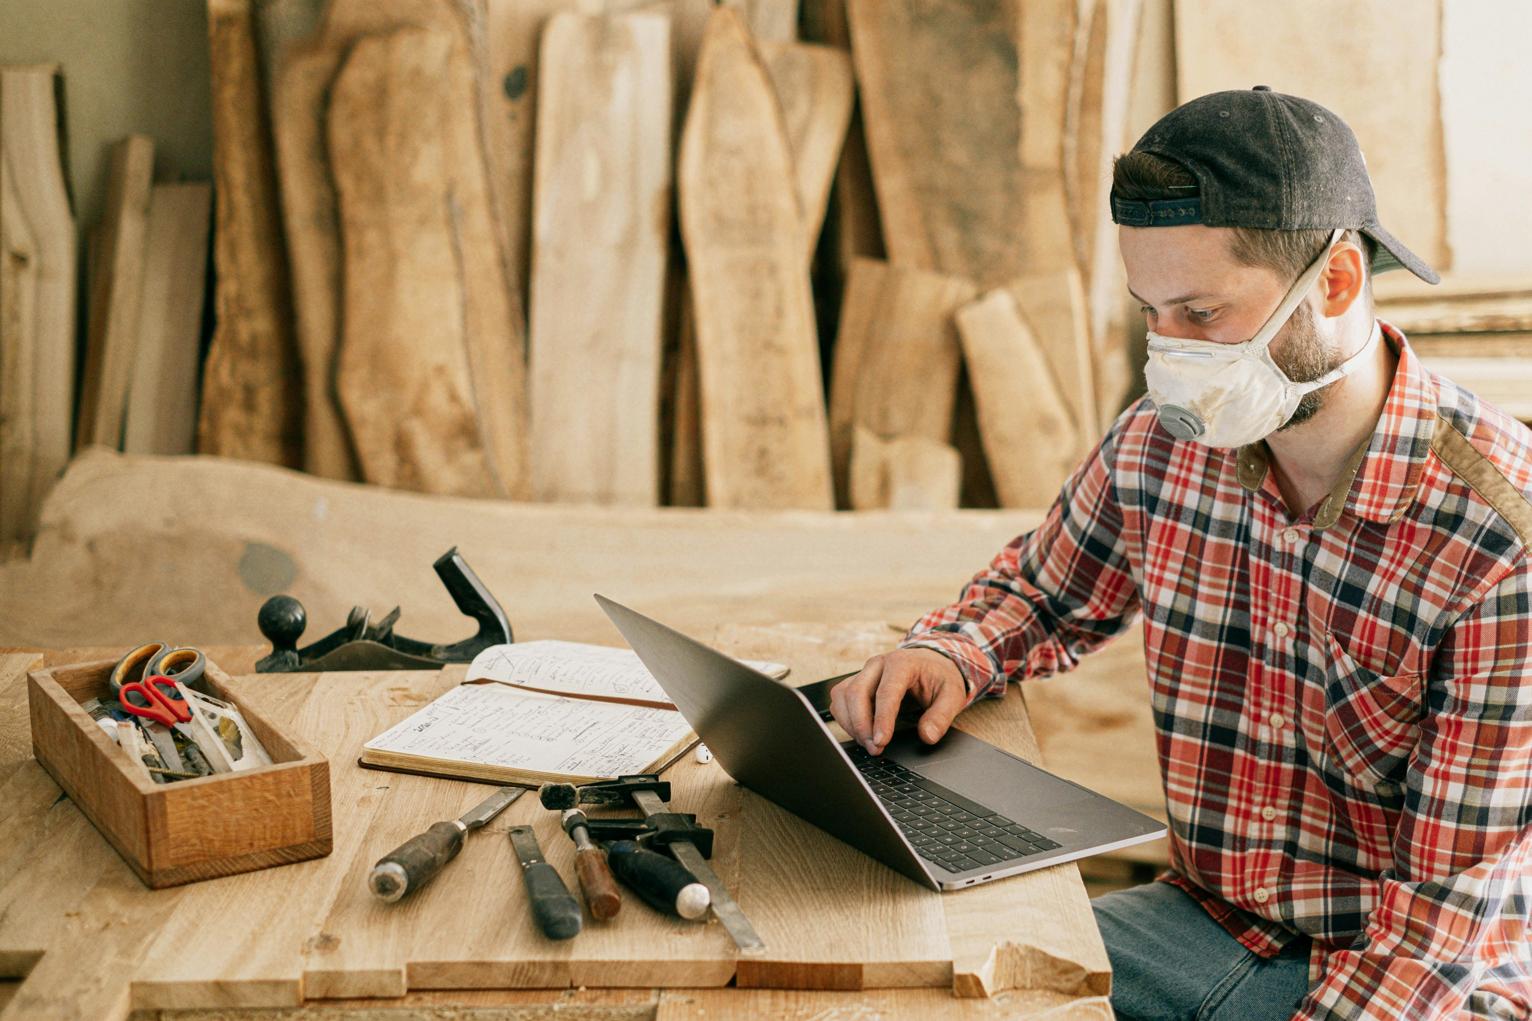
Building a computer desk from scratch offers a sense of accomplishment and allows customization to meet personal needs and fit perfectly in your space. Whether you’re a beginner or an experienced DIYer, constructing your own desk can also be more cost-effective than buying one. This guide will walk you through the steps, from initial planning to final assembly, ensuring you have a clear and easy-to-follow path toward completing your project.

Planning Your Computer Desk Build
Before you even lift a hammer or saw, good planning is crucial to ensure your desk meets all your needs.
Assessing Your Needs and Space
First, consider what you need from a computer desk. Do you require ample space for multiple monitors, or are you looking for a compact station? Assess the room where you’ll place the desk. Measure the dimensions of the space to avoid any surprises later on.
Choosing the Right Materials
Next, select materials based on your requirements and budget. Popular choices for the desktop include solid wood, plywood, and even MDF. Solid wood is sturdy and aesthetic but may be more expensive, while plywood offers a balance of cost and durability. MDF is the least expensive but also the least durable.
Tools You’ll Need
Gather all necessary tools before you start. Essential tools include:
– Measuring tape
– Circular saw or handsaw
– Drill and drill bits
– Screwdriver
– Sandpaper or electric sander
– Clamps
– Screws and brackets
With your plan in place, move on to designing your desk. This is where your creativity can shine.
Designing Your Desk
Creating a desk that’s functional and aesthetically pleasing requires careful design.
Sketching Your Design
Begin by sketching your design on paper or using a digital tool. Your sketch should include dimensions, the layout of different components like the desktop surface, legs, and any additional features such as shelves or drawers.
Measuring and Cutting Wood
Using your sketch, measure and mark your wood before cutting. Precision is key to ensuring all parts fit together neatly. Use a circular saw for straight cuts and a jigsaw for any curves or intricate shapes.
Creating a Sturdy Frame
A solid frame provides the necessary support for your desk. Typically, you’ll need four legs and a set of cross braces. Attach the braces to the legs using screws and brackets for added stability. Assemble the frame on a flat surface, ensuring all corners are square and level.
Once your frame is ready, it’s time to focus on building the main workspace.
Building the Desk Surface
A well-prepared surface can make all the difference in usability.
Selecting and Preparing the Desktop Material
Choose a material that fits your requirements. Solid wood or plywood works well. Once selected, cut the desktop to size. If using multiple pieces, join them together securely.
Sanding and Finishing
Sand the surface smooth using progressively finer sandpaper. This step is essential for a comfortable and professional finish. After sanding, apply a finish—such as wood stain or paint—to protect the surface and enhance its appearance.
Attaching the Desktop to the Frame
Position the desktop on top of the frame, making sure it’s aligned correctly. Secure it using screws, driven up from the bottom of the cross braces into the desktop. Clamps can help hold everything in place while you work.
The core of your desk is complete, but additional features can significantly improve functionality.
Adding Features and Accessories
Enhancing your desk with shelves, drawers, and ergonomic features can boost productivity and comfort as you use it.
Installing Shelves and Drawers
Shelves and drawers provide additional storage. For shelves, cut pieces of wood to fit within the frame and secure them with brackets. Drawers can be crafted or purchased and installed using drawer slides mounted to the frame.
Cable Management Solutions
Incorporate cable management to keep your workspace tidy. Options include drilled holes with grommets for cables to pass through, adhesive clips to route cables along the underside, or a dedicated cable management tray.
Ergonomic Considerations
Ensure your desk offers comfortable use. This may involve adding a keyboard tray, placing your monitor at eye level, or including a footrest. Proper ergonomics can reduce strain and enhance your working experience.
With all components ready, you can proceed to the final assembly.

Final Assembly and Finishing Touches
Bringing together all parts marks the near completion of your desk.
Assembling All Parts
Carefully attach all components, securing them firmly. Check the alignment and stability of each part as you work, making adjustments as needed.
Adding Paint or Varnish
A final coat of paint or varnish not only protects your desk but also gives it a polished look. Choose a finish that complements your room’s decor. Apply evenly and allow adequate drying time between coats for best results.
Testing for Stability and Adjustments
Once assembled, test your desk for stability. Place it on a level surface and check for any wobble or unevenness. Tighten screws, add additional supports, or adjust as necessary to ensure a solid, stable structure.

Conclusion
Building your own computer desk can be a rewarding project that results in a customized, functional piece of furniture tailored to your needs. By following this guide, you’ll gain not only a sturdy desk but also the satisfaction of having built something with your own hands. Take your time, work carefully, and enjoy the process.
Frequently Asked Questions
What materials are best for a computer desk?
Solid wood and plywood are excellent choices due to their durability. MDF is another option for budget-conscious projects.
How can I make my desk ergonomic?
Height adjustability, a monitor at eye level, and a keyboard tray can enhance ergonomics. Consider adding features like a footrest and comfortable chair.
What tools do I need to build a computer desk?
Essential tools include a measuring tape, circular saw, drill, screwdriver, sandpaper, clamps, and screws. Having these tools on hand will ensure a smoother building process.
