Introduction
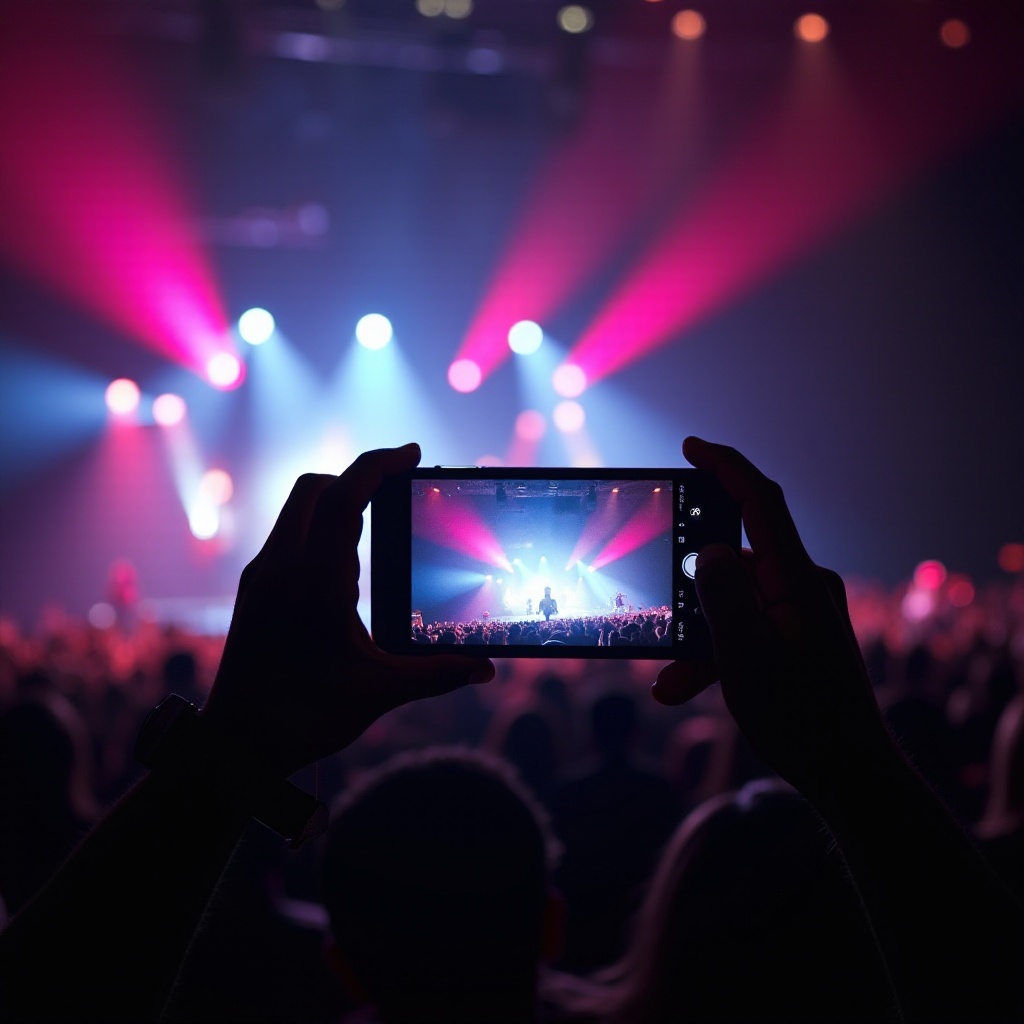
Capturing the magic of a live performance can be challenging, especially using a smartphone. However, with the right techniques and practices, you can take stunning concert photos that preserve the atmosphere and excitement of the event. Let’s explore how you can click impressive concert photos with your phone, from preparation to final post-processing.

Preparation Before the Concert
Before heading to the venue, a little preparation can go a long way. First, ensure your phone is fully charged, as concert photography can quickly deplete your battery. Bring a portable charger just in case. Clean your phone’s camera lens for clear pictures.
Secondly, consider the concert venue. If possible, find out about the lighting setup and your seating location. This can help you plan your shots. Arrive early to get a good spot, ideally closer to the stage for better angles.
Finally, familiarize yourself with the concert rules and policies. Some venues have restrictions on photography, and you want to ensure you’re following the guidelines. With these preparations, you’re set to make the most of your concert photography experience.
Understanding Your Phone’s Camera Options
Your smartphone’s camera is packed with features that can significantly enhance your concert photos. Learn about different modes like Night Mode, Pro Mode, and HDR. Activate grid lines to help with composition.
Familiarize yourself with how to quickly adjust focus and exposure. At concerts, moments are fleeting, and you need to be ready. Practice using burst mode to capture a rapid sequence of shots, ensuring you don’t miss that perfect moment.
Additionally, look into camera apps that offer more manual control over settings. Apps like Camera+ for iPhones or ProCam can give you enhanced functionality beyond your phone’s stock camera.
Camera Settings and Techniques
Now that you know your phone’s capabilities, let’s focus on settings. Increase the ISO to handle low-light conditions, but beware of too much noise in your photos. For iPhones, use a shutter speed of around 1/125 to freeze motion, while keeping the aperture wide open (lower f-stop).
Pay attention to white balance settings to maintain natural color tones. Depending on the venue’s lighting, you might need to adjust it to keep colors from looking too warm or cool.
When it comes to techniques, steady hands are crucial. Use both hands to hold your phone or consider a mini tripod. Leaning against solid surfaces can also help reduce shake.

Mastering Composition and Angles
Composition is key in concert photography. Adopt principles like the rule of thirds by aligning your subject along grid lines for dynamic shots. Capture the musicians’ emotions and interactions for more compelling images.
Experiment with different angles. Often, shooting from lower angles can give a dramatic and powerful feel to your photos. Don’t stick to one spot; change positions to get varied perspectives that capture the energy of the performance.
Avoid zooming in too much to maintain image quality. Instead, crop your photos during post-processing to focus on specific elements of the shot.
Handling Various Lighting Conditions
Concerts have wildly varied lighting, from bright spotlights to dark, shadowy corners. Adjust your strategies accordingly. For intense lighting, use exposure lock to manage brightness. If the venue is dim, use Night Mode to bring out the details.
Different color lights can throw your photos off. Adjust the white balance or switch to black-and-white mode if colors become too chaotic. Shutter speed is critical here; a faster shutter speed helps with bright lighting, while slower ones are better for low light.
Be adaptable and ready to tweak your settings at a moment’s notice. Always keep your focus on the performers to capture the essence of the event.

Post-Processing Your Photos
Post-processing can transform your concert photos from good to great. Use apps like Snapseed, Lightroom, or VSCO to enhance your images. Adjust the exposure, contrast, and sharpness for clarity.
Crop your photos to eliminate distractions and focus on the subject. Enhance colors and add a touch of vignette for a dramatic effect. Filters can be helpful, but use them sparingly to keep images natural.
Remove any blemishes or noise that can distract from the photo’s quality. With the right edits, your concert photos can truly capture the show’s excitement.
Conclusion
Taking concert photos with your phone is an art that combines preparation, understanding your tools, and practical techniques. With practice, you can capture the energy and moments that make concerts memorable. So next time you attend a live event, use these tips to take concert photos that you’ll be proud to share.
Frequently Asked Questions
What are the best settings for concert photos on a smartphone?
The best settings usually include a high ISO for low light, a fast shutter speed (around 1/125), and a wide aperture (low f-stop). Adjust white balance according to the venue’s lighting to maintain natural colors.
How can I stabilize my phone while taking concert pictures?
To stabilize your phone, use both hands, lean against a sturdy surface, or use a mini tripod. Alternatively, consider using image stabilization apps or features on your phone.
What are the best apps for editing concert photos?
Top editing apps for concert photos include Snapseed, Lightroom, and VSCO. These apps offer comprehensive tools for adjusting exposure, contrast, sharpness, and more.
