Introduction
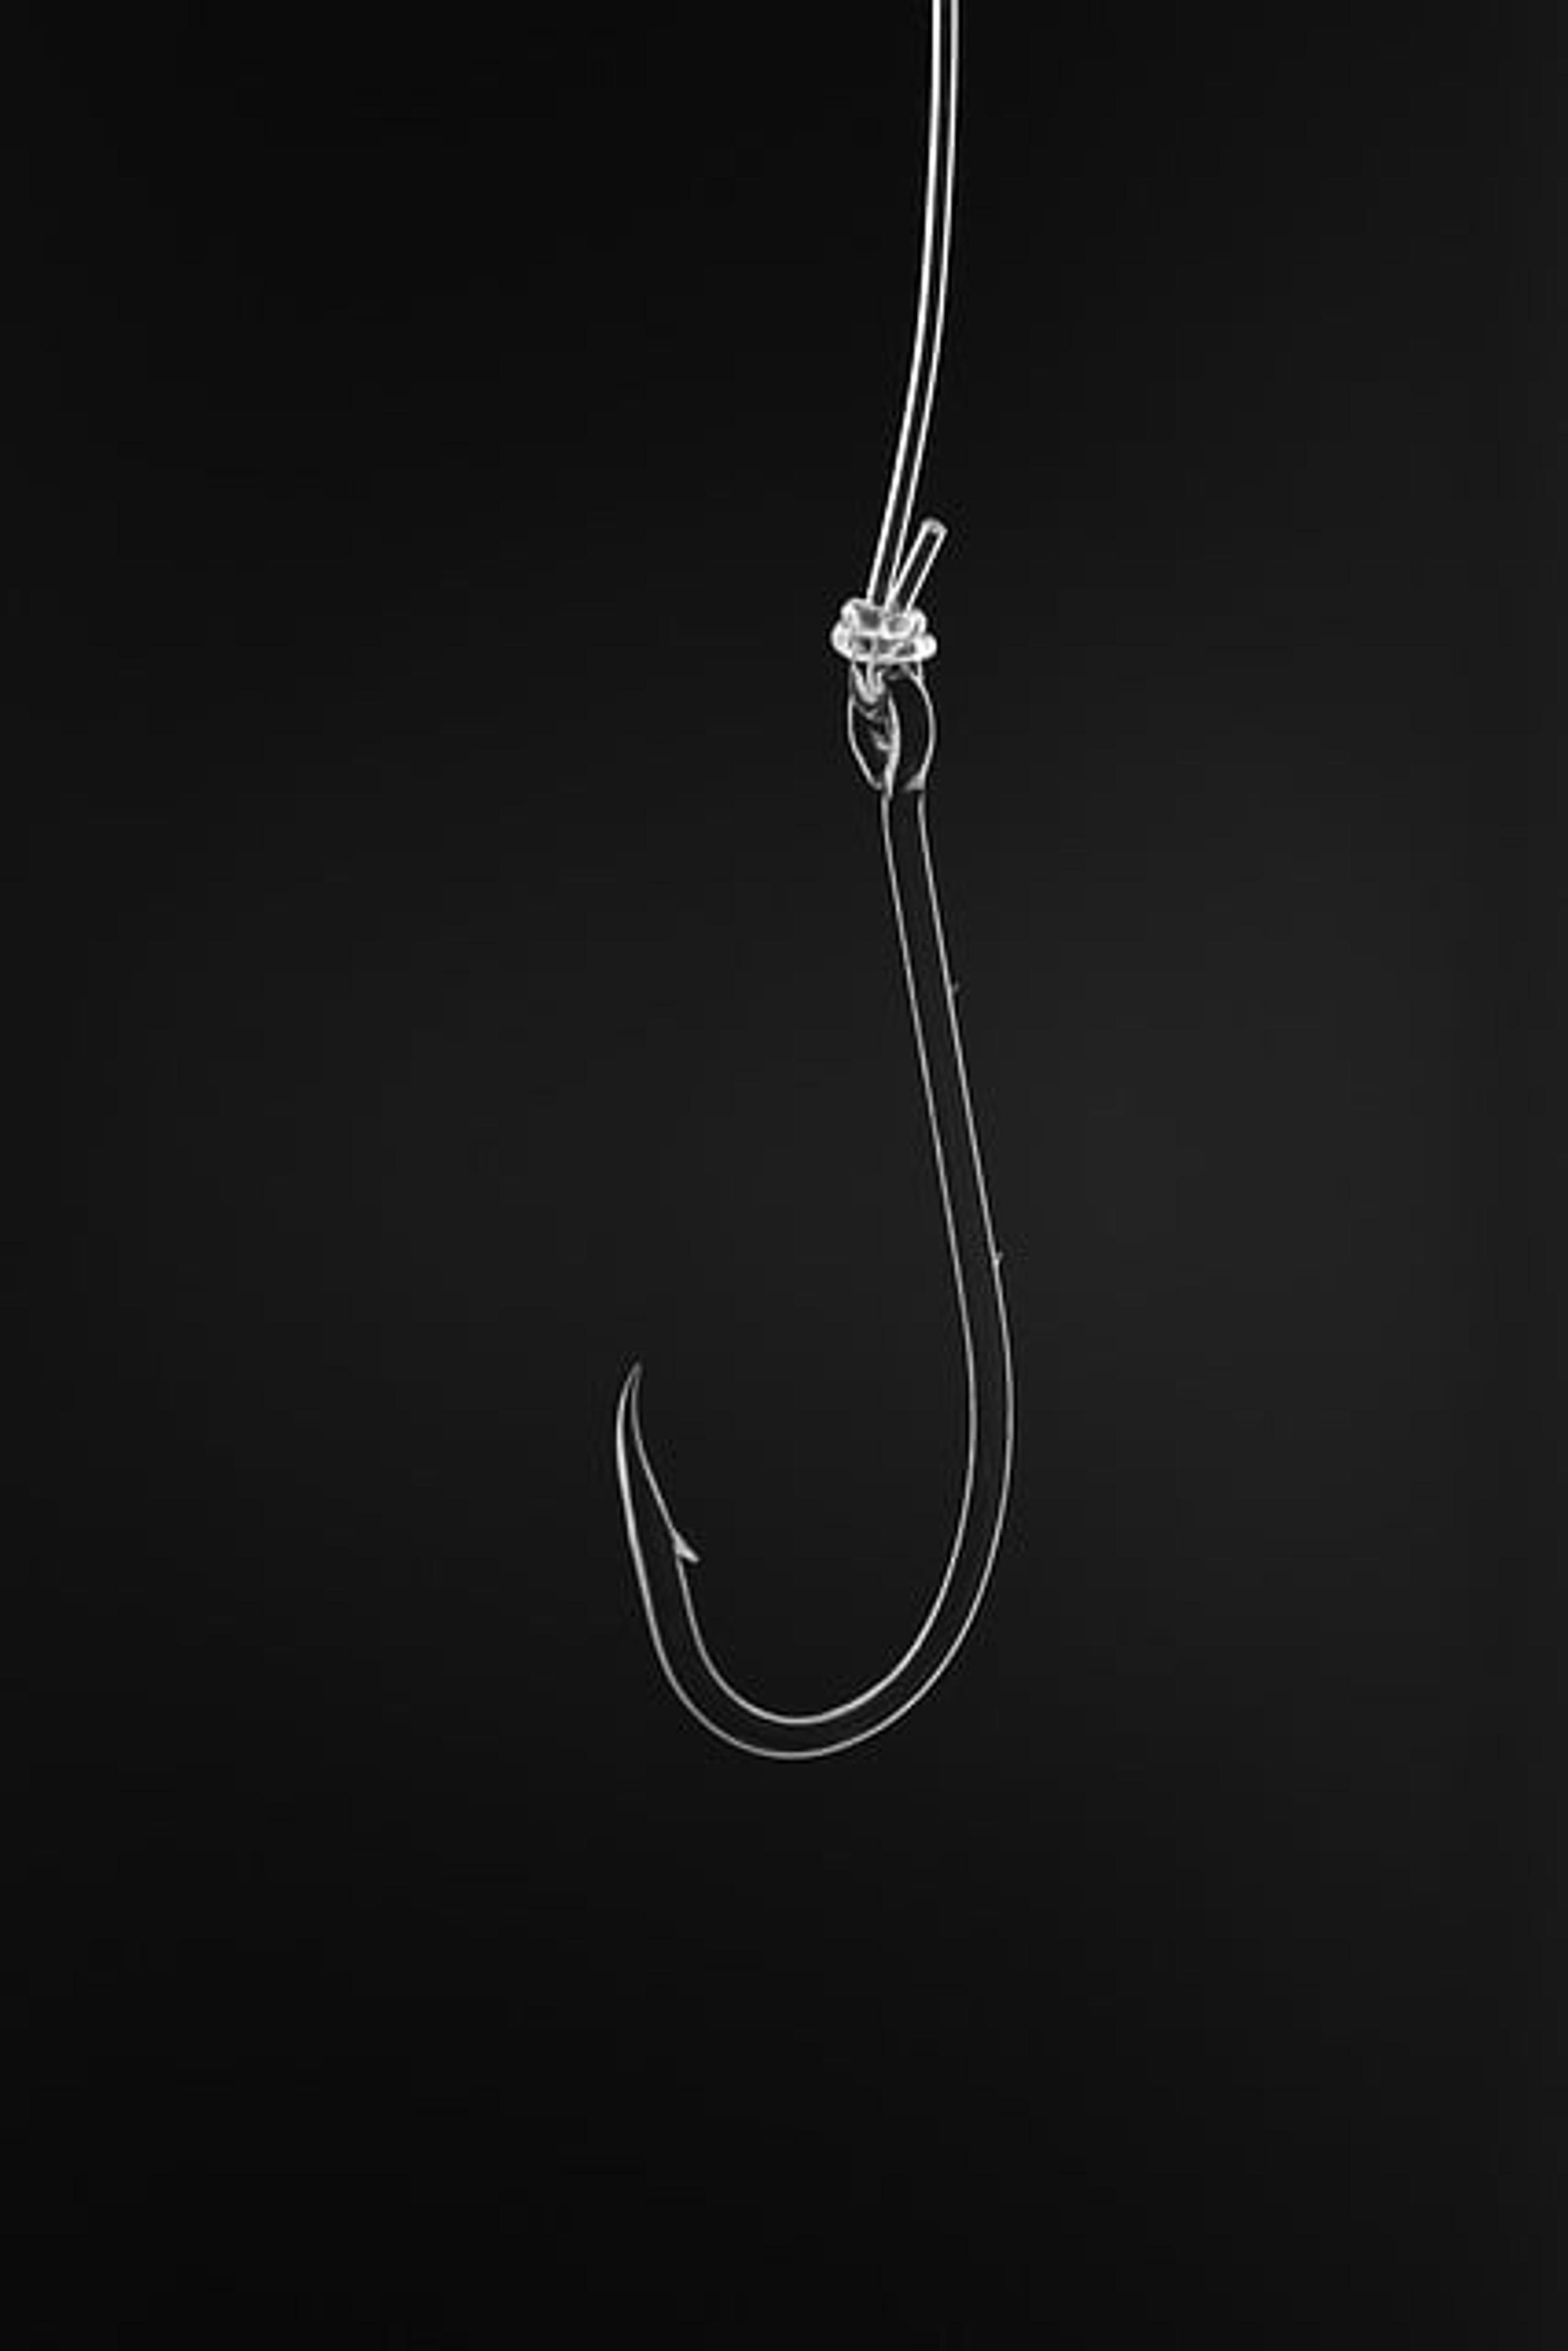
Fishing is a delightful blend of patience, skill, and a dash of luck. At the heart of this activity is the fundamental task of tying a hook to your fishing line. This essential skill can make the difference between a day full of catches and a day full of near misses. Whether you’re a seasoned angler or a novice, understanding how to tie a hook securely can significantly improve your fishing experience. This guide will walk you through the process and introduce you to some of the most reliable knots used by successful fishermen.

Why Knowing How to Tie a Hook is Essential for Successful Fishing
The importance of knowing how to tie a hook cannot be overstated. A poorly tied knot can result in lost fish, frustration, and wasted time. Conversely, a well-tied knot ensures that your hook stays securely attached to the line, allowing you to focus on fishing rather than constantly retying and checking your gear.
A securely tied hook also maximizes the effectiveness of your bait and improves your chances of catching fish. Different fishing situations call for different knots, each designed to handle specific conditions and fish types. Mastering these knots empowers you to adapt to various fishing scenarios and increase your overall success.
Essential Fishing Knots Every Angler Should Know
Before we dive into the step-by-step guides for tying specific knots, it’s crucial to familiarize ourselves with the most useful knots for attaching a hook to your fishing line. The following four knots are widely regarded as essential for any angler:
The Improved Clinch Knot
A reliable knot that is easy to tie and strong enough for most fishing situations.
The Palomar Knot
Known for its strength and simplicity, making it a favorite among many anglers.
The Uni Knot
Versatile and strong, the Uni Knot is suitable for a variety of fishing lines and hooks.
The Snell Knot
Designed for attaching a hook to a leader line, offering exceptional strength and alignment.
Step-by-Step Guide to Tying the Improved Clinch Knot
- Thread the end of the fishing line through the eye of the hook.
- Wrap the end around the standing line 5-7 times.
- Thread the end of the line through the small loop near the hook eye.
- Moisten the knot with water and pull it tight.
The Improved Clinch Knot is great for securing your hook and is particularly useful with monofilament lines. It’s simple yet highly effective, making it a staple in any angler’s repertoire.
Step-by-Step Guide to Tying the Palomar Knot
- Double about 6 inches of your line and pass it through the hook’s eye.
- Tie a loose overhand knot with the doubled line.
- Pass the hook through the loop formed by the overhand knot.
- Moisten and tighten the knot by pulling on both the standing line and the tag end.
The Palomar Knot is celebrated for its strength and is highly effective with braided fishing lines. It’s quick to tie and minimizes slippage, making it ideal for a variety of fishing conditions.
Step-by-Step Guide to Tying the Uni Knot
- Pass the line through the hook eye and double back parallel to the standing line.
- Make a loop by laying the tag end over the doubled line.
- Wrap the tag end around the doubled line and through the loop 5-6 times.
- Moisten and pull both the standing line and the tag end to tighten.
The Uni Knot’s versatility allows it to be used with any type of fishing line, and it is particularly strong and dependable, making it a go-to knot for many anglers.
Step-by-Step Guide to Tying the Snell Knot
- Thread the end of the line through the hook’s eye from the point side.
- Form a small loop by doubling back on the line.
- Wrap the tag end around both the hook shank and the doubled line 5-6 times.
- Hold the wraps in place and pull the standing line to tighten the knot.
The Snell Knot is most effective with hooks that have a straight shank. It helps in maintaining proper hook alignment with the bait, ensuring better hook sets and increasing your chances of a successful catch.

Tips and Tricks for Ensuring Knot Strength and Durability
A good knot can be the difference between landing a trophy fish and telling stories about the one that got away. Here are some tips and tricks to ensure your knots are strong and durable:
Testing Your Knots
Always test your knot by pulling firmly on the hook and the line. A well-tied knot should not slip or come undone under moderate pressure.
Common Mistakes to Avoid
- Over-tightening: Tightening too aggressively can weaken the knot by damaging the line.
- Skipping Moistening: Always moisten the knot with water or saliva to reduce friction and prevent line damage.
- Insufficient Wraps: Ensure you wrap the line the recommended number of times for each knot to maximize strength.

Conclusion
Mastering the art of tying fishing knots is one of the fundamental skills that every angler should possess. The Improved Clinch Knot, Palomar Knot, Uni Knot, and Snell Knot offer a variety of solutions for different fishing scenarios. Practice these knots regularly, test their strength, and avoid common pitfalls to ensure that your fishing adventures are successful and enjoyable.
Frequently Asked Questions
How often should I check my knots?
You should check your knots every time you prepare your fishing gear and after catching a fish. Regularly inspecting your knots helps ensure they remain secure and effective.
Can I use the same knot for different hooks?
While some knots are versatile, it’s advisable to use specific knots for certain hooks to maximize strength and effectiveness. The Uni Knot, for example, is quite versatile and works for many types of hooks and lines.
How do I ensure my knot doesn’t slip?
Ensure you follow the correct steps for each knot, moisten your knots before tightening, and test them by pulling firmly on the line. Practice tying knots regularly to gain proficiency and confidence.
